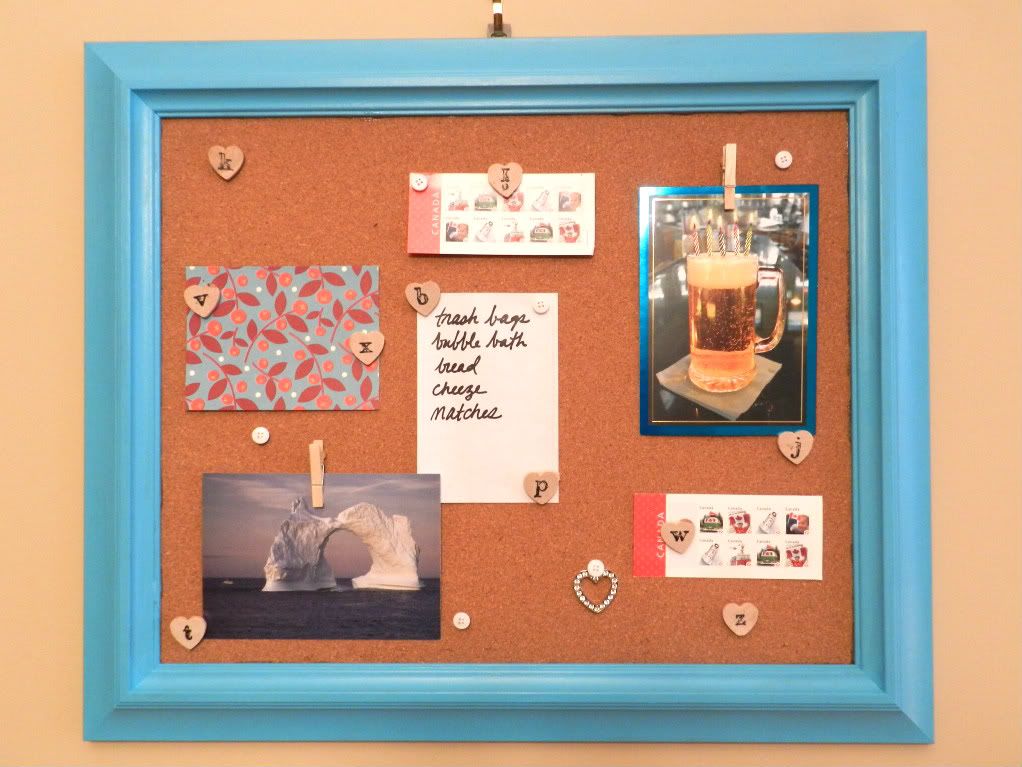
Framed corkboards are awesome! You can be creative with the color, design, and push pin details, too.
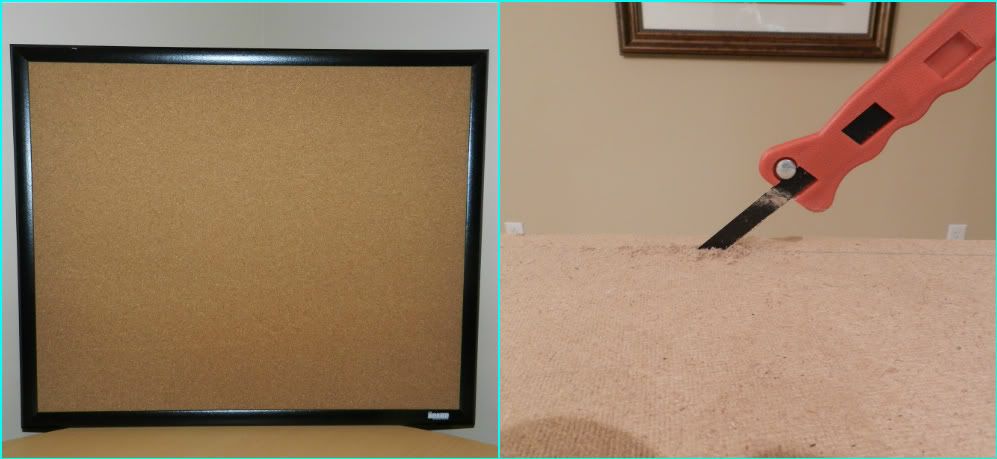
Step 1: Get a corkboard and frame you want to use. Take the corkboard out from the frame it comes in. (You can use the cork sheets because they are easier to cut, but they aren't as durable.) Measure the bought frame length onto the corkboard and saw off the excess.
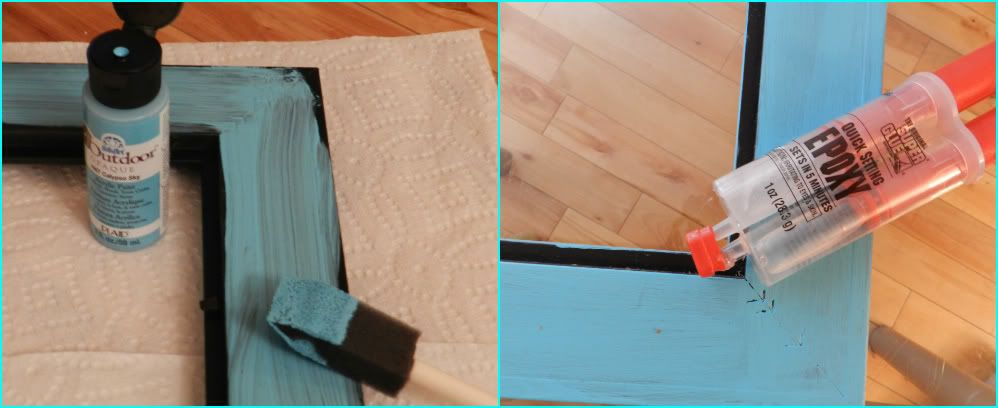
Step 2: Select the color of paint. Spray paint works too, but the small bottles are cheaper. I used 5 coats and only needed one bottle. After paint dries (1-2 hours) apply epoxy glue to frame and settle in your newly cut corkboard.
Step 3: The push pins! I used some wooden hearts I had lying around. Along with wooden clothespins and buttons. I also used letter stampers for detail. Use epoxy glue again for the push pins.
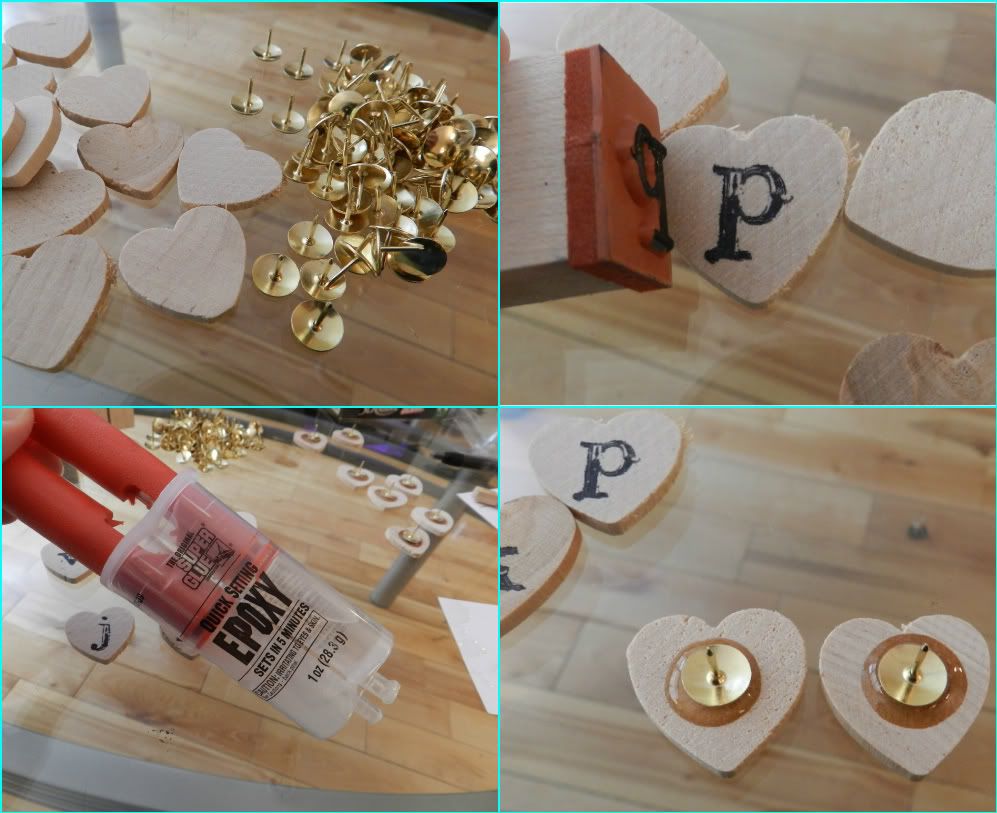
Note: epoxy glue will set in five minutes but let dry over night. Also, make sure that the glue is exactly 50/50 mixture or it will not work.
No comments:
Post a Comment